How to replace a failed sump pump before a summer storm to protect your basement
Learn how to identify a failing sump pump, test your system, and replace an aging unit before summer storms cause severe basement flooding.
The sound every homeowner dreads is heavy rain pounding the roof while wondering if the sump pump will keep working. By the time a failed pump is discovered, water is often already seeping across the basement floor, threatening finished spaces and stored belongings. Most sump pump failures can be prevented with regular testing and replacement before severe weather arrives. Understanding the warning signs and knowing how to replace the pump can save thousands of dollars in water damage repairs.
Why sump pumps fail during summer storms
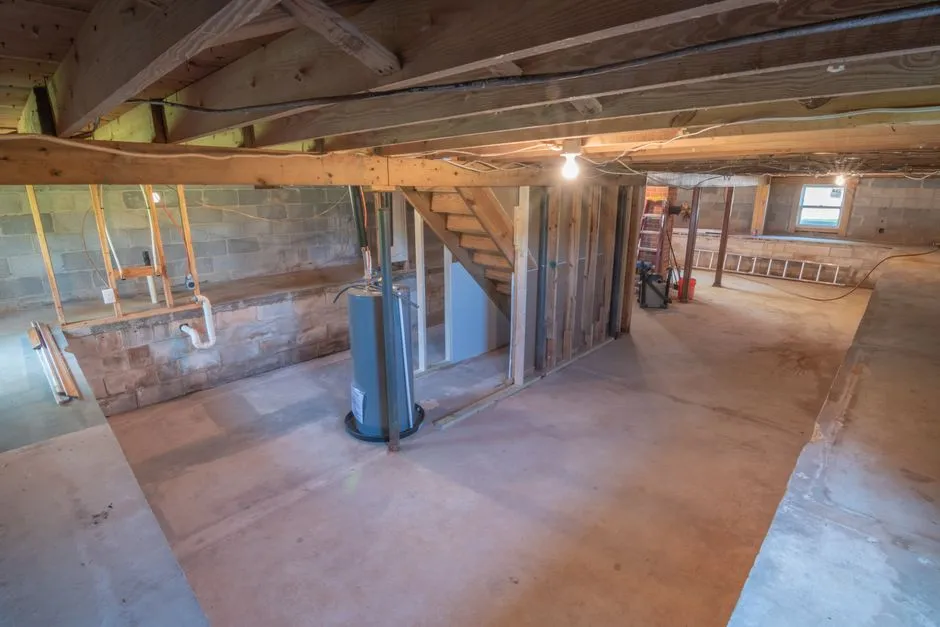
Your sump pump sits idle most of the time. Unlike a furnace or air conditioner that runs regularly and displays obvious signs when something is wrong, a sump pump can develop hidden problems. These issues often go undetected until extreme weather events or heavy summer storms force the pump into action, at which point the system may fail under the sudden load.
A functioning sump pump removes groundwater before it accumulates, keeping hydrostatic pressure away from foundation walls. When the pump fails during a storm, water rises rapidly in the basin and eventually overflows onto the basement floor. In the time it takes to notice the problem and respond, hundreds of gallons can flood the area. Homeowners often face ruined carpet, damaged furniture, and mold growth that can begin within 24 to 48 hours of water contact.
Common causes of sudden sump pump failure include stuck or tangled float switches, clogged intake screens, failed check valves that force the pump to cycle continuously, burnt-out motors, and storm-related power outages. A typical sump pump generally lasts between five to ten years, though its lifespan can be shortened by frequent cycling, muddy water, or heavy debris, making it a priority for an essential home maintenance checklist. Recognizing these vulnerabilities allows homeowners to take action before a severe weather event tests the system.
How to test and inspect your current system
Before attempting any replacement work, test your existing sump pump to confirm whether it is actually failing or simply experiencing a minor, fixable obstruction. The most reliable way to evaluate the system is with a water test that simulates storm conditions. Start with a visual inspection of the entire assembly while the power is safely disconnected.
Look closely at the float switch to ensure it moves freely without catching on the basin walls, power cords, or discharge pipes. Examine the discharge pipe for visible cracks, loose connections, or improper alignment that might force water back into the system. Check the check valve, which is usually positioned just above the pump, to confirm it prevents backflow effectively. Remove any accumulated dirt, gravel, or debris from the bottom of the sump basin using a small scoop or wet-dry vacuum.
Next, conduct the water test by slowly pouring a five-gallon bucket of water directly into the sump basin. Watch the float switch carefully as the water level rises; it should lift smoothly and trigger the pump motor within one to two seconds. A healthy pump will run steadily without excessive noise or vibration, evacuate the water quickly, and shut off automatically once the level drops back to normal. If the pump struggles to start, hums loudly without pumping, or trips the circuit breaker, the unit needs to be replaced.
Step-by-step guide to replacing a sump pump
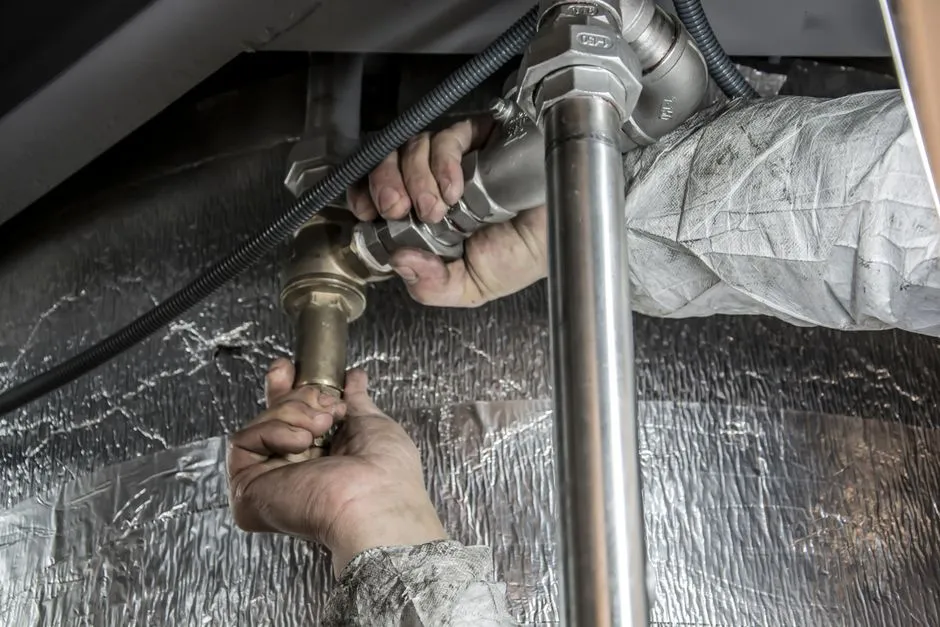
Replacing a failed sump pump requires preparation and the right tools to ensure the new unit works reliably during the next storm. Choosing the correct replacement pump depends on your basement size, typical water volume, and whether you are installing a submersible or pedestal model. For most homes dealing with heavy summer storms, a submersible pump is usually the better choice because it sits fully inside the pit, runs quieter, handles larger water volumes, and lasts longer than a pedestal alternative.
To complete the replacement project, gather the necessary tools and replacement components before starting. You will typically need a new sump pump matching your required horsepower, a new PVC check valve, PVC primer and cement, channel-lock pliers, a bucket, towels, and a hacksaw if you need to cut existing PVC discharge piping. Always unplug the old pump and any backup systems from electrical outlets before touching any components.
- Disconnect the power supply to the pump to ensure safety during the removal process.
- Disconnect the discharge pipe from the old pump by loosening the metal band on the rubber coupling or cutting the PVC pipe just above the check valve if it is permanently glued.
- Lift the old pump and attached PVC pipe sections straight up and out of the sump pit, placing them into a waiting bucket to catch residual dirty water.
- Clean out the bottom of the sump basin thoroughly, removing all silt, mud, gravel, and debris that could clog the intake screen of the new pump.
- Inspect the check valve and replace it if it shows signs of wear, as a faulty check valve allows discharged water to flow backward and forces the new pump to work harder.
- Lower the new submersible sump pump into the center of the pit, ensuring the float switch has complete clearance to move up and down without touching the basin walls.
- Connect the discharge pipe and check valve securely to the new pump using a rubber coupling and hose clamps, or solvent-weld the PVC components according to manufacturer instructions.
- Plug the new pump into a dedicated, grounded electrical outlet and perform a water test by pouring a five-gallon bucket of water into the pit to verify proper operation.
Essential upgrades to protect your basement long-term
Relying solely on a basic, single primary sump pump leaves your home vulnerable to power outages and mechanical breakdowns during severe summer storms. Adding a few upgrades can better protect your basement and make the system last longer, providing several layers of defense against water infiltration.
Installing a battery-backup sump pump system is one of the most important upgrades a homeowner can make. Because severe summer storms frequently cause electrical grid failures, standard primary pumps often stop working when water volume is highest. A battery backup system runs automatically on a separate deep-cycle marine battery, kicking in if the main pump fails or if household power is lost. Many modern backup systems also feature digital monitoring panels and Wi-Fi connectivity that send alerts to your smartphone if water levels rise or equipment malfunctions.
Other valuable improvements include upgrading to a heavy-duty stainless steel pump body, installing an audible high-water alarm to warn you before water spills onto the floor, and ensuring your exterior discharge pipe directs water at least ten feet away from your foundation. Improper discharge placement often allows pumped water to flow right back toward your basement walls through the soil. Combining a reliable new primary pump with a battery backup and proper yard drainage helps keep your basement dry during storms.
References
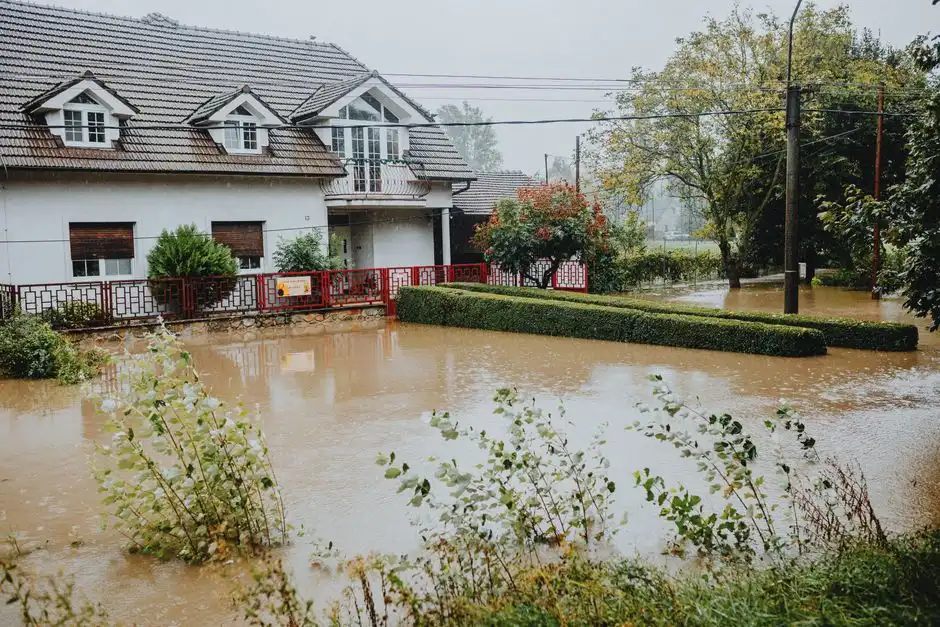
Best battery backup sump pump for living in a flood zone
Low-impact exercises to improve posture and shoulder mobility for women undergoing regular breast cancer screening

Related Posts
HOMEBest battery backup sump pump for living in a flood zone
Discover why a battery backup sump pump is critical for flood zone living and review top-rated systems to protect your home from severe water intrusion.
 HOME IMPROVEMENT
Your First Apartment: A No-Stress Guide to Finding a Place You'll Love
Embarking on your first apartment hunt is a major life milestone. It's exciting, sure, but it can also be overwhelming. Let's walk through it together, step-by-step.