Moving Sideways: Your Guide to a Smart Oblique Injury Recovery
That sharp pain in your side is more than just a nuisance—it's a sign to slow down. Recovering from an oblique strain is a lesson in patience, but with the right exercises, you can come back stronger.

It’s a moment every active person dreads. You’re twisting to catch a ball, lifting a heavy grocery bag, or maybe just laughing a little too hard, and then you feel it—a sharp, searing pain in your side. An oblique strain can feel like it comes out of nowhere, and it has a unique way of making its presence known with every breath, cough, or turn. I’ve been there, and honestly, it’s one of the most frustrating injuries because it involves muscles you don’t even realize you’re using until they’re hurt.
The obliques, those muscles running along the sides of your abdomen, are crucial for almost every move you make. They help you bend, twist, and stabilize your entire core. When they're strained, your body is sending a very clear signal to stop, rest, and reassess. The path to recovery isn't about pushing through the pain; it's about being smart, patient, and incredibly deliberate with your movements. It’s a journey of rediscovering your core, one gentle motion at a time.
Phase 1: The Art of Doing (Almost) Nothing
The first 48 to 72 hours after an oblique strain are critical, and the best thing you can do is embrace the art of active rest. This doesn't mean becoming a permanent fixture on your couch, but it does mean avoiding any activity that causes pain. Your primary goal is to let the inflammation subside. The classic R.I.C.E. method—Rest, Ice, Compression, and Elevation—is your best friend here, though for obliques, it’s mostly about the rest and ice. Applying an ice pack to the sore area for 15-20 minutes several times a day can work wonders for reducing pain and swelling.
During this initial phase, it’s also a fantastic idea to consult a professional, like a physical therapist. They can properly diagnose the severity of the strain and rule out any other issues. I once tried to self-diagnose and ended up prolonging my recovery by doing gentle stretches that were actually too aggressive for the initial stage. A therapist can provide manual therapy and guide you on truly gentle movements, like diaphragmatic breathing, which helps engage the deep core without straining the injured tissue. This phase is all about creating a calm environment for your body to begin its natural healing process.
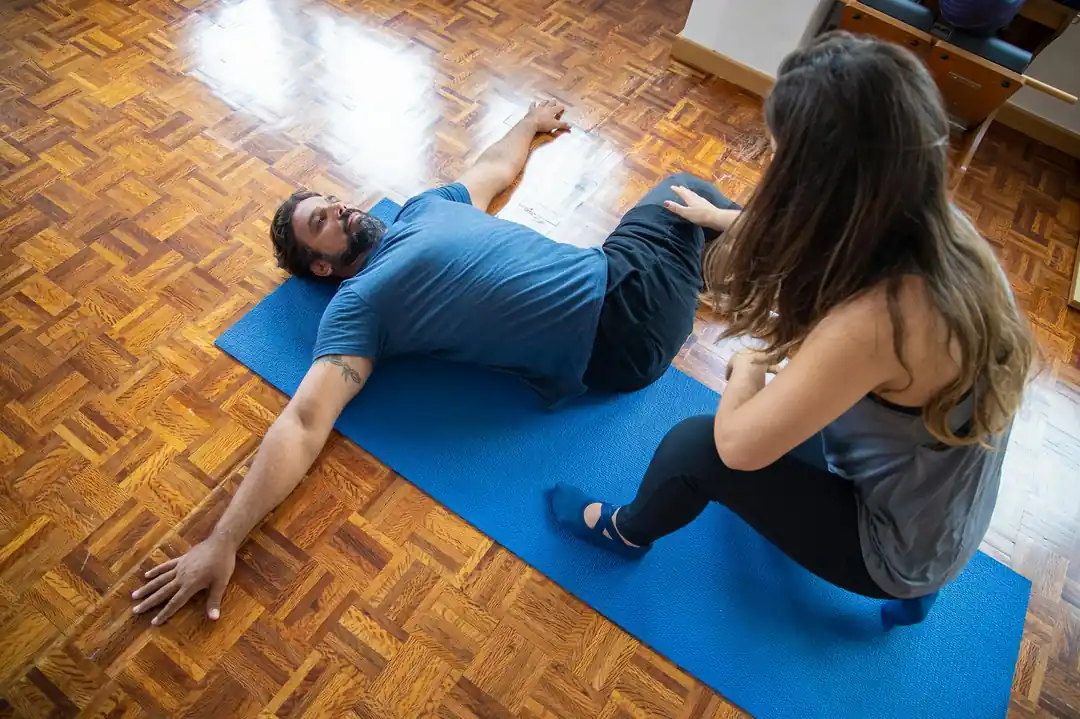
Phase 2: Gentle Activation and Re-Engagement
Once the initial, sharp pain has subsided, and you can breathe and move without wincing, it’s time to gently reintroduce your obliques to the concept of work. The key here is isometric exercises, where you create tension in the muscle without actually moving it through a range of motion. These are the safest and most effective way to wake up the core and remind it of its stabilizing duties.
A perfect exercise to start with is the Dead Bug. Lying on your back with your knees bent at 90 degrees and arms extended toward the ceiling, you slowly lower one opposite arm and leg toward the floor, making sure your lower back stays completely flat against the mat. The goal is to prevent your torso from twisting or arching. Another foundational exercise is the Bird-Dog, where you start on all fours and extend an opposite arm and leg. Both of these movements train the core to resist rotation and extension, which is a primary job of the obliques. Start with just a few reps on each side, focusing entirely on perfect, pain-free form.
Phase 3: Building Strength and Resilience
As you get stronger and can perform the activation exercises with no pain and perfect stability, you can begin to progress to movements that take the muscles through a controlled range of motion. This is where you start to build back real, functional strength. However, the "go slow" rule still applies. You are the only true expert on what your body is feeling.
A great next step is the Side Plank from the Knees. This variation reduces the load on your obliques while still challenging them to work. As you get stronger, you can progress to a full side plank, and eventually add small hip dips. Another fantastic exercise is the Pallof Press, which is an anti-rotation exercise. Using a resistance band anchored at your side, you hold the handle at your chest and press it straight out in front of you, resisting the band’s pull to twist you. This directly trains the obliques to do one of their most important jobs: preventing unwanted rotation and protecting your spine.
Finally, you can start to reintroduce very gentle rotational movements. A Standing Trunk Rotation with no weight, just focusing on a slow, controlled twist, is a good place to start. The goal is to rebuild the trust between your brain and your muscles, ensuring they fire in the right sequence and with the right amount of force. Rushing this phase is the quickest way to find yourself back at square one. Listen to your body, progress slowly, and celebrate the small victories along the way. Your patience will be rewarded with a core that is not just healed, but more resilient than before.
You might also like

From Meme to Mainstream: The Wild History of Crocs Collaborations
How did a humble foam clog become a canvas for high fashion, streetwear, and global superstars? We're diving into the wild, weird, and wonderful history of Crocs collaborations.

Keeping Our Furry Family Safe: A Holiday Survival Guide for Pet Parents
The holidays are a magical time, full of joy and togetherness, but for our beloved pets, they can also hide some unexpected dangers. Let's make sure our dogs and cats have a safe and happy festive season.

A Beginner's Guide to Shopping at a French Farmers' Market
Unlock the secrets to navigating a bustling French marché like a local. From essential etiquette to must-buy items, here's how to make your market trip a delicious success.

Beyond the Billboard: 7 Modern Ways for Car Accident Law Firms to Win More Clients
Is your car accident law firm struggling to connect with new clients? It's time to move beyond old-school tactics. Here’s how to build a powerful client-attraction engine in the digital age.

Online Tutoring vs. Traditional Classes: Which Learning Path Is Right for You?
The world of education has split into two exciting paths: the flexible, digital frontier of online tutoring and the classic, structured world of traditional classrooms. Let's walk through them both to see which one fits your life.