Don't Go Unprepared: Your Essential Avalanche Safety Gear Checklist
Heading into the backcountry? The beauty is undeniable, but so are the risks. Let's talk about the non-negotiable gear that could save your life.
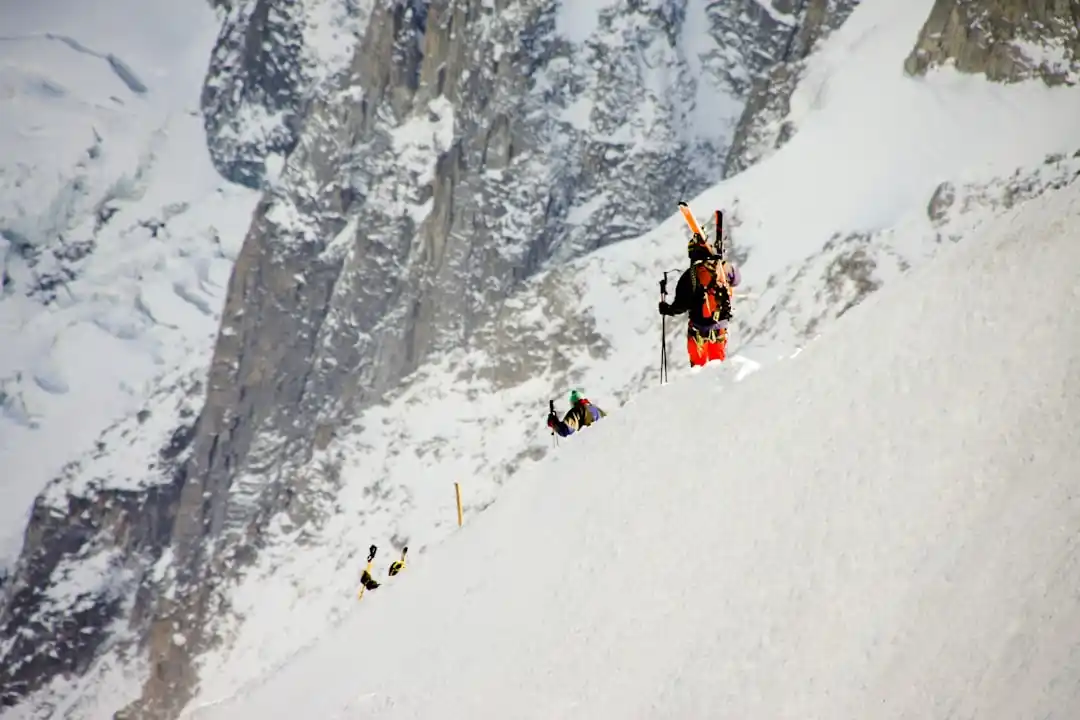
There’s a moment on every backcountry trip when you stop, look around, and are just floored by the silence and the scale of it all. The jagged peaks, the endless fields of untouched snow—it’s a beauty that resort skiing just can’t replicate. But as someone who has spent a fair bit of time out of bounds, I can tell you that this beauty comes with a heavy dose of responsibility. The backcountry is not a playground; it's a wild, unpredictable environment.
Honestly, it used to intimidate me. The thought of an avalanche was this abstract, terrifying concept. It wasn't until I took my first AIARE (American Institute for Avalanche Research and Education) course that things started to click. Knowledge, I realized, was the antidote to fear. And a huge part of that knowledge is understanding your gear. Not just owning it, but knowing it inside and out.
We're going to walk through the absolute non-negotiables of avalanche safety gear. This isn't about the fanciest brands or the lightest-weight tech. This is about the core items that everyone in your party must have, and know how to use, every single time you step into avalanche terrain. Think of it as your ticket to entry. Without it, you're not just a liability to yourself, but to everyone around you.
The Holy Trinity: Beacon, Shovel, Probe
If you hear people talking about the "big three," this is it. These three items work together as a system. Having only one or two of them is like having a car with no engine—it might look the part, but it won't get you where you need to go in an emergency. Time is the single most critical factor in a successful avalanche rescue, and this trio is designed to maximize every second.
A statistic that has always stuck with me from my training is that the vast majority of buried victims who are successfully rescued are saved by their partners. Waiting for professional search and rescue is often a body recovery, not a live rescue. That sobering fact underscores why you and your partners, equipped with this gear and the training to use it, are the first and best line of defense.
Let's be clear: carrying this gear is not a license to take bigger risks. It's a safety net for when, despite all your careful planning and terrain assessment, the worst happens. It’s a humble acknowledgment of the power of the mountains and our place within them.
1. Avalanche Transceiver (Beacon)
The avalanche transceiver, or beacon, is the cornerstone of the system. It's a small electronic device that you wear strapped to your body, under your outer layer. In its standard "send" mode, it constantly emits a radio signal. If someone in your group is buried, the surviving members switch their beacons to "search" mode. This allows them to pick up the signal from the buried victim's beacon and follow it to their location.
Modern beacons are digital, often with multiple antennas, which makes searching much more intuitive than the analog models of the past. They provide directional arrows and a distance reading that gets smaller as you get closer to the signal. But don't let the seemingly simple interface fool you. Using a beacon effectively under the extreme stress of a real scenario requires practice. Lots of it. Hiding a beacon in a snowbank and having your friends search for it should be a regular part of your early-season routine.
When you're buying a beacon, look for a modern, three-antenna digital model from a reputable brand like Backcountry Access (BCA), Mammut, or Pieps. Features like a "marking" or "flagging" function are also crucial for multiple-burial scenarios, allowing you to lock onto the first signal, find the victim, and then move on to the next closest signal without interference.
2. Avalanche Shovel
A shovel might seem like the most basic piece of gear, but it's arguably where the most time is lost or gained in a rescue. Once you've pinpointed the victim's location with your beacon and probe, you have to dig them out. And avalanche debris is nothing like fresh powder. It can set up like concrete, making a flimsy or poorly designed shovel completely useless.
Your shovel needs to be made of metal—specifically, an aluminum blade and shaft. Plastic shovels are for building kickers in the park, not for saving lives. Look for one with a comfortable, sturdy handle (D-grips are generally easier to use with gloves on) and a telescoping shaft that allows for efficient digging. The blade should be large enough to move a significant amount of snow quickly.
Shoveling is exhausting work. Strategic shoveling techniques, which you learn in an avalanche course, are vital. They teach you how to move snow efficiently away from the hole, creating a platform and preventing you from having to move the same snow twice. This is another skill that you need to practice. Feel the weight and consistency of different snowpacks. You’ll quickly appreciate why a robust, well-designed shovel is a non-negotiable part of your kit.
3. Avalanche Probe
The probe is the final piece of the location puzzle. Once your beacon has led you to the general area (within a meter or two), you'll deploy your probe to pinpoint the victim's exact location and burial depth. A probe is essentially a collapsible pole, usually made of aluminum or carbon fiber, that you assemble and push down into the snow.
When you get a "probe strike"—hitting something soft and solid in the snow—you leave the probe in place as a marker and begin shoveling. The depth markings on the side of the probe are critical; they tell you how deep you need to dig, which helps you strategize your shoveling efforts. A deeper burial means a much wider hole needs to be excavated.
Look for a probe that is at least 240 cm (around 8 feet) long, though 300 cm is even better, as burials can be deep. Speed of deployment is key, so practice assembling it with gloves on. You want a locking mechanism that is secure and won't collapse while you're probing. Carbon probes are lighter, but aluminum is often more durable and can be a better choice for those who are tough on their gear.
Beyond the Basics: The Airbag Pack
While not (yet) considered part of the essential trinity, the avalanche airbag pack is the single most effective piece of survival gear. It's a backpack with a large, high-pressure airbag that you deploy by pulling a handle. The principle is based on "inverse segregation," where in a moving mass of particles (like an avalanche), the largest objects tend to rise to the surface.
Deploying an airbag can significantly increase your chances of ending up on top of the debris, or with a much shallower burial, dramatically improving your odds of survival. Of course, they are not a silver bullet. They don't protect against trauma from hitting trees or rocks, and they don't help you if you're buried in a terrain trap. But the statistics are compelling.
The decision to invest in an airbag is a personal one. They are expensive and add weight to your pack. However, as the technology improves and prices come down, they are becoming an increasingly common sight in the backcountry. If you spend a lot of time in serious terrain, it's an investment worth serious consideration.
Ultimately, no amount of gear can replace good judgment. The most important safety tool you have is your brain. Taking an avalanche safety course, checking the forecast every single time, and making conservative decisions are what will truly keep you safe. The gear is just there for the day that everything goes wrong.
I hope this gives you a solid foundation for thinking about your backcountry setup. Stay safe, keep learning, and enjoy the incredible beauty that lies beyond the ropes.
You might also like

Why Seville Should Be Your Next Spanish Adventure
Forget what you think you know about Spanish holidays. I’m talking about a city that feels like stepping into a sun-drenched painting, where every corner has a story. This is Seville.

The 25-Minute Magic Trick: How a Simple Timer Can Revolutionize Your Productivity
Ever fall down a rabbit hole of distraction, only to look up and realize hours have vanished? Let's talk about a beautifully simple technique to reclaim your focus.

Don't Fear the Blank Canvas: Your Guide to the Best Free Graphic Design Software
Diving into graphic design doesn't have to be expensive. I'm exploring the most powerful and user-friendly free tools that can help any beginner start creating today.

Uncorking Your Dream: A Financial Guide to Starting a Small Distillery
Thinking of launching your own spirits brand? It’s a romantic notion, but the financial reality can be sobering. Here’s a realistic look at the costs of starting a small distillery in the US.

More Than Motion: Finding Your Mental Sanctuary Through Exercise
It’s easy to think of exercise as a chore for the body. But what if we reframed it as a sanctuary for the mind? Let's explore the profound connection between movement and mental wellness.