The Ultimate Guide to Checking Your Mattress for Bed Bugs
That creeping feeling that you're not sleeping alone? It's time to face the fear. Here’s a calm, step-by-step guide to inspecting your mattress for bed bugs.
There’s a unique, heart-sinking dread that comes with waking up to mysterious, itchy red welts. Your mind immediately jumps to the worst-case scenario, a conclusion fueled by late-night horror stories and that one friend-of-a-friend’s traumatic experience. Could it be? Bed bugs? The very thought is enough to make your skin crawl, turning your bedroom sanctuary into a place of anxiety.
Honestly, I get it. For a long time, I operated under the common misconception that bed bugs were a sign of a dirty home. It’s a surprisingly persistent myth. The reality is, these tiny invaders are opportunistic travelers. They don’t care if you live in a pristine palace or a cluttered apartment; they’re just looking for a warm place to live with a reliable food source. They can hitch a ride into your home on luggage, secondhand furniture, clothing, or even a backpack.
So, before you spiral into a panic, let’s reframe this. This isn’t about shame or cleanliness. It’s about empowerment. Knowing how to properly inspect your mattress is the first, most crucial step in taking back control. Early detection can mean the difference between a minor, manageable issue and a full-blown, costly infestation. Let’s walk through this together, calmly and methodically.
Gearing Up: Your Bed Bug Inspection Toolkit
Before you tear your bed apart, it’s best to get organized. Approaching this like a detective—methodical and prepared—will make the process far less stressful. You’re looking for tiny clues, and having the right tools on hand is half the battle.
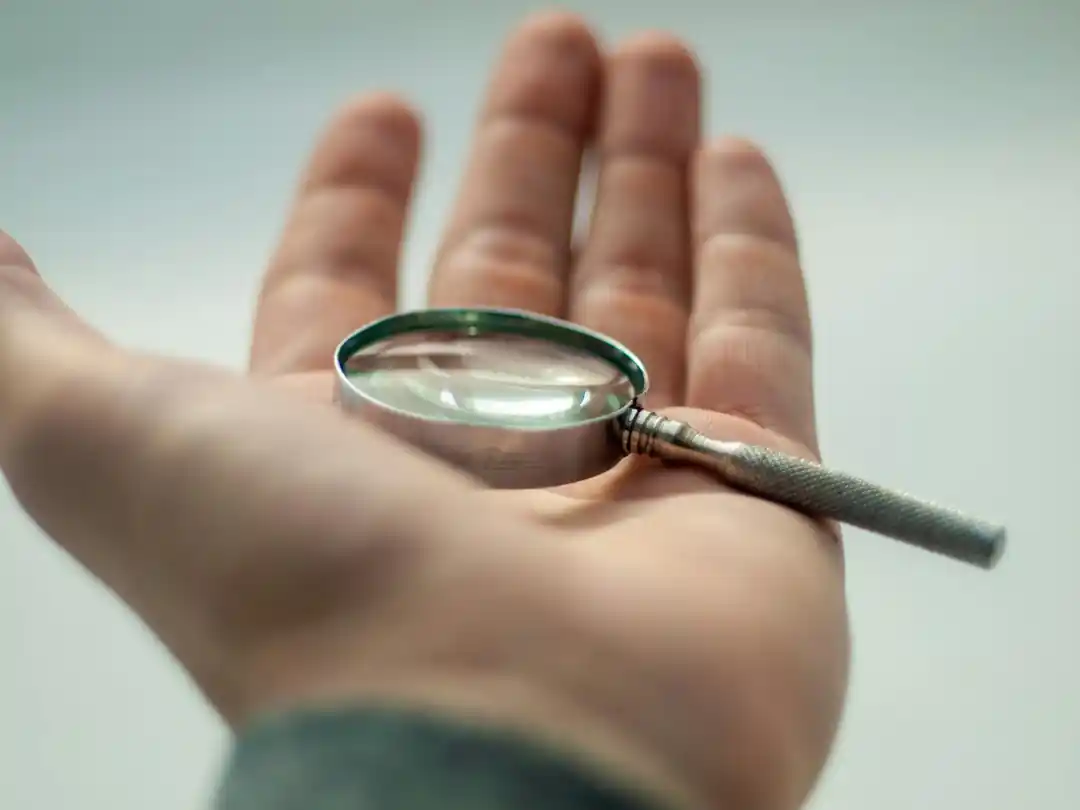
First, you’ll need a powerful flashlight; the one on your phone is good, but a dedicated LED flashlight is even better for illuminating the dark crevices where these pests love to hide. Next, grab a magnifying glass. This might sound like overkill, but bed bug eggs and newly hatched nymphs are minuscule, about the size of a pinhead, and incredibly easy to miss with the naked eye.
You’ll also want something stiff and thin, like an old credit card, a plastic putty knife, or even a guitar pick. This will be your secret weapon for exploring the tight seams and folds of your mattress. A pair of disposable gloves is a good idea for peace of mind, and it’s smart to have a few sealable plastic bags or a small vial ready, just in case you find a live specimen you want to get professionally identified.
Finally, prepare your space. Carefully strip all bedding—sheets, blankets, pillowcases, and the mattress protector. The key is to do this gently, without shaking anything, to avoid accidentally flinging bugs or eggs across the room. Place everything directly into a large plastic bag, seal it tightly, and carry it to your laundry room. Wash everything in the hottest water the fabric can handle, followed by at least 30 minutes in the dryer on high heat. This heat treatment is a surefire way to kill any bugs or eggs on your linens.
The Main Event: A Step-by-Step Mattress Inspection
With your tools ready and the bed stripped, it’s time to focus on the mattress itself. This is where your patience will pay off. Bed bugs are masters of concealment, so a slow, systematic search is non-negotiable.
Start with the top and sides of the mattress. Begin at one corner and slowly work your way around the entire perimeter. Pay extremely close attention to the seams, piping, and any tufts or labels. These are the five-star resorts for bed bugs, offering dark, protected spaces right next to their food source (you). Use your credit card to press down and drag it along the seams. This can push out any hiding bugs, eggs, or the evidence they leave behind. Shine your flashlight into every fold and crevice as you go.
Once you’ve thoroughly examined the top and sides, it’s time to check the underside. This is a step many people skip, but it’s absolutely critical. Prop the mattress up against a wall so you have full access to the bottom. Repeat the exact same inspection process, meticulously checking every seam, staple, and tag. Don’t forget to inspect the handles, if your mattress has them.
Next, turn your attention to the box spring. The box spring is arguably an even more common hiding spot than the mattress itself. Inspect the top and sides, but the most important area is the underside. You’ll likely find a fabric dust cover stapled to the wooden frame. Carefully examine the edges of this cover, then peel it back and look inside the wooden structure. The dark, undisturbed interior of a box spring is a bed bug’s paradise. Shine your light on all the wooden joints and corners.
What Am I Looking For, Exactly?
Knowing where to look is only half the equation; you also need to know what to look for. You may not see a live bug right away, but they always leave clues behind.
Live Bugs: Adult bed bugs are flat, oval-shaped, and reddish-brown, about the size of an apple seed. Nymphs (young bed bugs) are smaller, translucent, or whitish-yellow, making them much harder to see.
Fecal Spots: This is one of the most common signs. Bed bug droppings look like small black or dark brown dots, almost like someone dotted the fabric with a fine-tipped marker. These spots will often bleed into the fabric and will smear a reddish-brown color if you wipe them with a wet cloth.
Shed Skins: As bed bugs grow, they molt, leaving behind their empty, translucent exoskeletons. Finding these light-brown, hollow shells in seams or crevices is a definitive sign of an active, growing infestation.
Eggs: Bed bug eggs are tiny (about 1mm), pearly white, and are often found in clusters tucked into tight spaces. They are sticky, so they’ll be firmly attached to the fabric. Your magnifying glass will be essential for spotting these.
Blood Stains: Small, unexplained rusty or reddish stains on your sheets or mattress can be from a bed bug being crushed after feeding.
Found Something? Don't Panic.
Discovering any of the signs above is unsettling, but the most important thing is not to panic. Your next moves are critical. Do not start spraying random pesticides or throwing your furniture out; this can often make the problem worse by causing the bugs to scatter and spread.
If you find something suspicious, try to collect a sample in a sealed bag. This will be incredibly helpful for professional identification. Your best and most effective course of action is to contact a licensed pest control professional. Bed bugs are notoriously difficult to eradicate on your own, as many DIY products are ineffective against their eggs. A professional can confirm the infestation, assess its severity, and recommend a comprehensive treatment plan, which may include heat treatments, steaming, or targeted insecticides.
Doing this inspection might feel daunting, but it is an act of reclaiming your space and your peace of mind. By being vigilant and proactive, you arm yourself with the knowledge to protect your home. And in the end, there is no better feeling than sinking into a bed that you know, for certain, is a safe and peaceful place to rest.
You might also like

Finding Your Champion: How to Choose the Right Personal Injury Lawyer
Navigating the aftermath of an injury can feel overwhelming, but finding the right legal advocate doesn't have to be. Let's talk about what truly matters when choosing a personal injury lawyer to champion your case.

The Remote Island Dream: How to Find Paradise on a Shoestring Budget
You don't need a millionaire's bank account to escape to a remote island. Here’s how to find your own slice of paradise without breaking the bank.

Does the Full Moon Make Your Pet...Weird? Unpacking the Lunar Effect
We've all heard the whispers—pets acting strangely when the full moon hangs high. But is there any truth to these tales, or is it just our imaginations running wild?

From Farm to Fork: The Blockchain Revolution in Supply Chain Transparency
Ever wonder where your coffee beans *really* come from? Blockchain is pulling back the curtain on complex supply chains, offering a new level of trust and transparency we've never seen before.

When Florida Shivers: How Cold Snaps Impact Public Transportation
Even in the Sunshine State, a sudden drop in temperature can throw a wrench into daily commutes. Let's explore how Florida's public transportation systems cope when the mercury takes an unexpected dive.