That Viral Northern Lights Photo? You Can Absolutely Take It On Your Phone
Forget the bulky pro gear. Capturing the magic of the aurora borealis is more accessible than ever. Here’s how to use the smartphone in your pocket to take incredible photos of the northern lights.
It feels like a secret club, doesn't it? The society of people who have seen the northern lights. They post those otherworldly photos of glowing green and purple ribbons dancing in the sky, and it seems like you need a thousand dollars worth of camera gear and a sherpa to get a shot like that. I used to think so, too. My first trip to Iceland, I was so intimidated by the idea of "aurora photography" that I barely even tried, opting to just "live in the moment" (which was mostly code for "I have no idea what I'm doing").
But here’s the truth: the single best camera you have is the one that's already in your pocket. Smartphone cameras have become ridiculously powerful. The same device you use to scroll through social media and order takeout has the technology to capture one of nature's most incredible phenomena. It’s less about having professional gear and more about understanding a few key principles to unlock your phone's hidden potential.
Honestly, learning that I could get stunning aurora photos with my iPhone was a complete game-changer. It makes the entire experience more accessible and, frankly, more fun. You get to focus on the chase—finding that perfect dark sky, waiting in giddy anticipation—without feeling weighed down by a backpack full of complicated equipment. So, let's break down exactly how you can do it, too.
It’s All About the Setup (And a Little Bit of Gear)
Before you even think about camera settings, your success starts with preparation. First, and I cannot stress this enough, you need a tripod. This is the single most important accessory you can bring. To capture the faint light of the aurora, your phone needs to let in light for several seconds. Even the steadiest hands in the world will create a blurry mess during a long exposure. You don't need a massive, expensive one; a small, flexible phone tripod like a GorillaPod is perfect for travel and can be wrapped around a fence post or perched on a rock.
Next up is location. You need to get away from city lights. Light pollution is the mortal enemy of astrophotography. Use a light pollution map (there are great websites and apps for this) to find a "dark sky" location. Even driving 20-30 minutes out of town can make a monumental difference. Also, check the aurora forecast. Apps like Aurora and My Aurora Forecast & Alerts are indispensable. They give you a Kp-index rating, which is basically a scale of geomagnetic activity. A Kp of 4 or 5 is great for the northern US, while in places like Alaska or Iceland, you might see incredible shows even at a Kp of 2 or 3.
Finally, think about the cold. Batteries drain shockingly fast in freezing temperatures. Keep your phone in a warm pocket (close to your body) until you're ready to shoot. Bringing a portable power bank is also a very, very good idea. There's nothing more heartbreaking than having your phone die just as the sky explodes in color. A little preparation goes a long way in making sure you're ready when the moment arrives.
Unlocking Your Phone’s Pro Mode
Okay, your tripod is set up, and the forecast looks promising. It's time to dive into your phone's camera settings. This is where you leave "auto" mode behind and embrace the power of manual controls. It might sound intimidating, but it's actually pretty straightforward.
If you have an iPhone (11 or newer), the built-in Night mode is your best friend. When your phone detects a dark scene, a little moon icon will appear. Tap it, and you can manually slide the exposure time. For the northern lights, you'll want to max this out, which is often between 10 and 30 seconds. On Android, you're looking for "Pro Mode" or "Expert Mode" in your camera app. This will open up a new menu of settings. Here are the three most important ones to adjust:
- ISO: This controls the camera's sensitivity to light. A higher ISO means a brighter photo, but it also introduces more grain or "noise." Start with an ISO around 800 to 1600. If the aurora is very faint, you can push it higher, but try to keep it as low as you can for a cleaner image.
- Shutter Speed: This is how long the camera's sensor is exposed to light. For a gently moving aurora, a shutter speed between 10 and 20 seconds is a great starting point. If the lights are dancing very quickly, a shorter shutter speed (5-10 seconds) will help you capture more definition in the "curtains" of light.
- Focus: Your phone's autofocus will be completely lost in the dark. You must set your focus manually. In your pro settings, look for a focus slider and set it to infinity (it usually looks like a little mountain icon). A great trick is to point your phone at the brightest star or a distant light on the horizon, tap to focus on it, and then lock that focus in before you start shooting the aurora.
And one last thing: use your phone's self-timer (the 3 or 10-second option). Even pressing the button to take the photo can cause a tiny shake that blurs the image. The timer gives the phone a moment to stabilize on the tripod before the shutter opens.
Thinking Like a Photographer
Now that you have the technical side down, don't forget about composition! A photo of just a green sky is nice, but a photo that tells a story is unforgettable. The best aurora photos almost always include something in the foreground to give the sky a sense of scale and place.
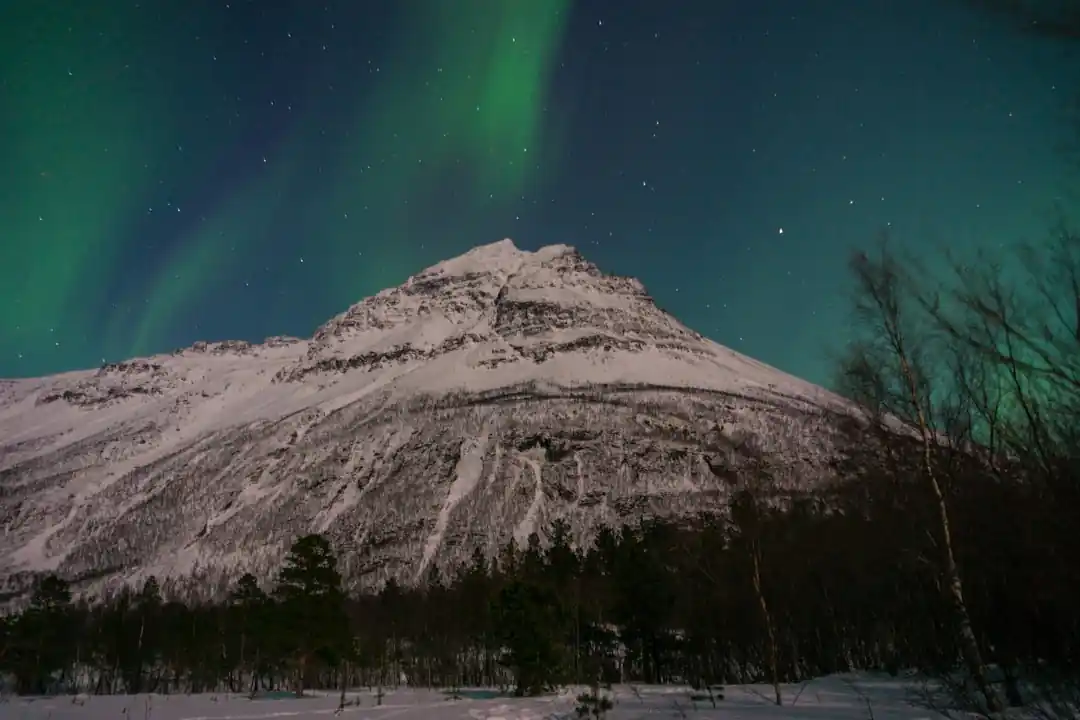
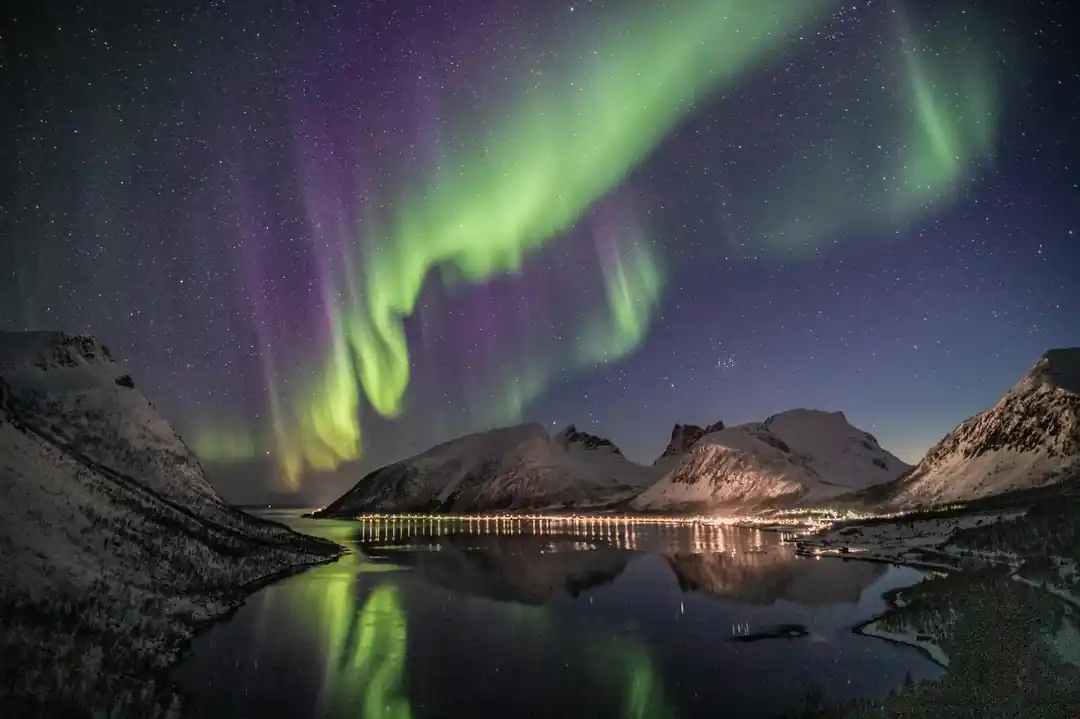
Look for interesting elements to frame your shot. A lonely tree, a rustic cabin, a mountain silhouette, or even the road stretching out in front of you can add a powerful sense of depth. If you're near a calm lake, you can capture the aurora's reflection in the water, which is always a stunning effect. Don't be afraid to experiment with your composition. Take a few vertical shots and a few horizontal ones.
Including a person in the photo can also be incredibly effective. Have a friend stand very still in the foreground, perhaps looking up at the sky. It adds a human element and a sense of wonder to the image. Just make sure they know they have to hold their pose for the entire duration of the long exposure!
Ultimately, photographing the northern lights is a dance between technical skill and creative vision. It’s about being prepared, but also about being present. While you're busy capturing the show, don't forget to put the phone down for a while and just watch it with your own eyes. No photo, no matter how perfect, can ever fully capture the feeling of standing under a sky that's alive with light.
You might also like

How to Plan an Out-of-This-World Family Vacation to Florida's Space Coast
Dreaming of a family trip that’s both educational and exhilarating? Florida's Space Coast offers a universe of adventure for aspiring astronauts of all ages.

Beyond the Textbook: Essential Study Tips for Marine Biology Students
Dreaming of a career studying the ocean's mysteries? It's more than just loving the water. Here are the real-world tips you need to succeed.

The Fed’s Whisper: How Federal Interest Rate Changes Affect Your Savings
Ever wonder why the interest rate on your savings account goes up and down? It has a lot to do with the Federal Reserve. Let's break down what it means for your money.

More Than a Leash: The Life-Changing Benefits of Your Daily Dog Walk
That daily stroll is more than just a routine. We're diving into why the simple act of walking your dog is one of the most powerful things you can do for their health and happiness.

From Windfall to Wealth: A Human-Centered Guide to Investing Your Truck Accident Settlement
Receiving a large settlement is more than a financial event; it's a life-altering moment. Here’s how to navigate the complexities with intention and build a future of lasting security.